I literally never thought I would be writing a “home-improvement post”. I am not Tim Allen. I’m more like the first little pig, who built her house out of straw. I’ve never used power tools, I am the queen of cutting corners, and hate slivers with a burning passion. That makes me the world’s worst candidate for “reno” projects.

There’s something about a deployment that makes you feel like you’re Miss Independent thought, and are basically obligated to take on projects that are normally (way) outside your repertoire. Exhibit A. Painting my kitchen cabinets. That was a 4.5 week project responsible for expanding my vocabulary’s list of 4 letter words.

This project, however, is completely different. This project was so simple, even a blonde influencer could do it. And if this blonde influencer can do it, you can too!
Step 1
Decide on the height and width of your wainscoting. My vertical boards were 4’9″ and I spaced them out at 13.5″ between each board. It will take some measuring and playing around with numbers (you should be good at that considering you’ve been helping your kids with their math homework for the last 3 weeks.) Keep in mind any outlets and where they will fit into the spacing.


Step 2
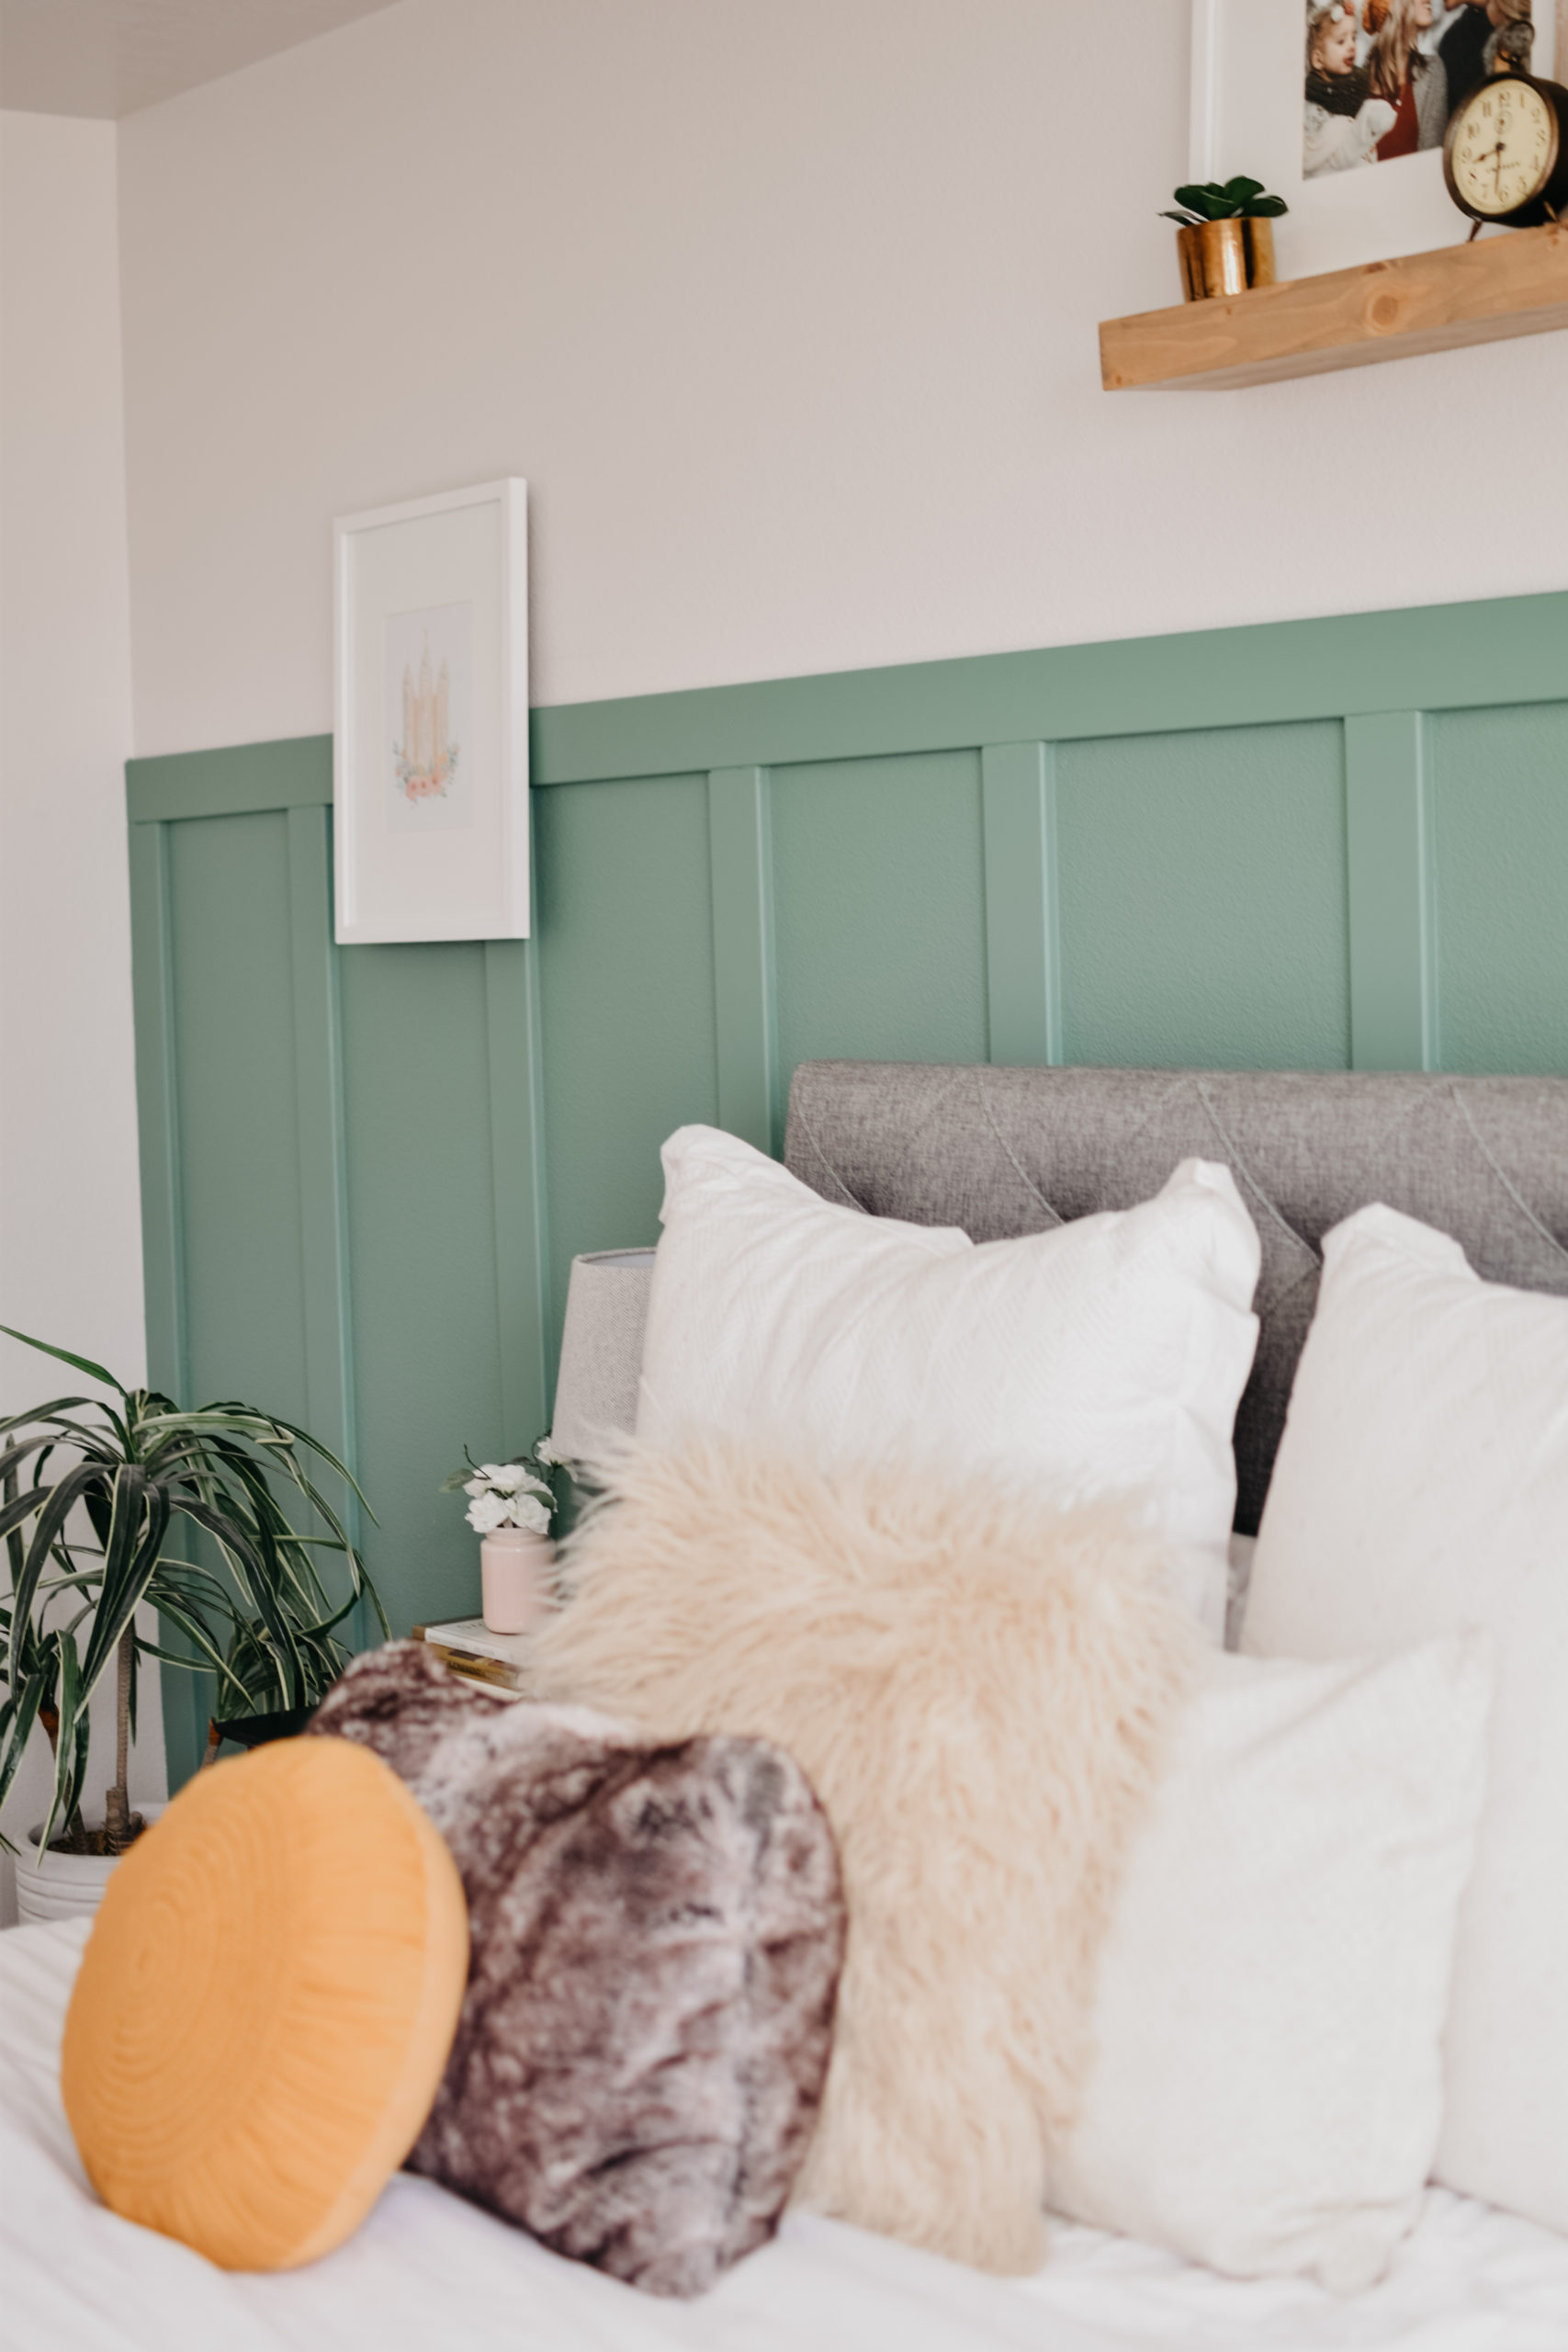
Tape off anything you don’t want stained with (insert color of your choosing) paint. And paint your wall! This color is Sherwin Williams SW 6733 Grasshopper and it turned out so gorgeous … if I do say so myself! I recommend painting the wall first because it eliminates the hassle of painting the nooks and crannies of the wainscoting after the boards are up! It only took 2 coats of paint for me!
Step 3
Wheel your little red wagons to the lumber yard like you’re helping The Little Rascals rebuild their clubhouse, and buy yourself some wood! My baseboards are 1/2″ thick so I used some MDF molding that’s 1/2″ x 3.5″. The gentlemen at the lumber store were super patient with me and my limited knowledge of lumber and construction terms of any kind. I hope my readers are equally as patient!

Step 4
Learn how to use an air compressor and nail gun! My friend let me borrow her nail gun, but I am thinking of snagging one myself because I had so much fun with it and it’s only $25!

Step 5
I nailed the vertical boards first and I started on the outsides and worked my way in. The very outside boards will be easiest because you can line them up with the adjacent wall, but the other boards will need to be leveled. I put a nail in the top and then line it up with a level and wiggle it a little left or right until it’s perfect and then nail about every 5 inches the rest of the way down. Once all the vertical boards are up, place the horizontal topper board and nail that sucker into place!

Step 6
Use this lightweight spackle and a putty knife to fill in all those nail holes! It’s so therapeutic! This lightweight stuff is like cotton candy. Next you’ll caulk all the seams! board to board, and board to wall! Enjoy this messy process. Your finger will be your best friend in smoothing out the caulk. That sounds terribly dirty. And it is … But more in a messy way. Once that is all dry, you will sand and sand and sand until everything is smooth. I made a mess with the caulk until I finally got the hang of it … on the last board. It’s a lot easier to clean up once you’ve figured out a system for laying it and smoothing it.

Step 7
Vacuum, wipe down, re-tape and paint the boards! It’s so exciting! You’re almost done! The paint I used dried so fast, I was able to slap on 2 coats in 4 hours. Once it dries, rip off all that blue painters tape and enjoy the beauty!
Start to finish, the whole project took me 2 days. But I really only worked on it while my kiddos were napping or sleeping. You could easily knock this out in a day as long as you have time for paint to dry! Especially if you have more than 2 hands.

